How I Manage Lyla’s Clothes

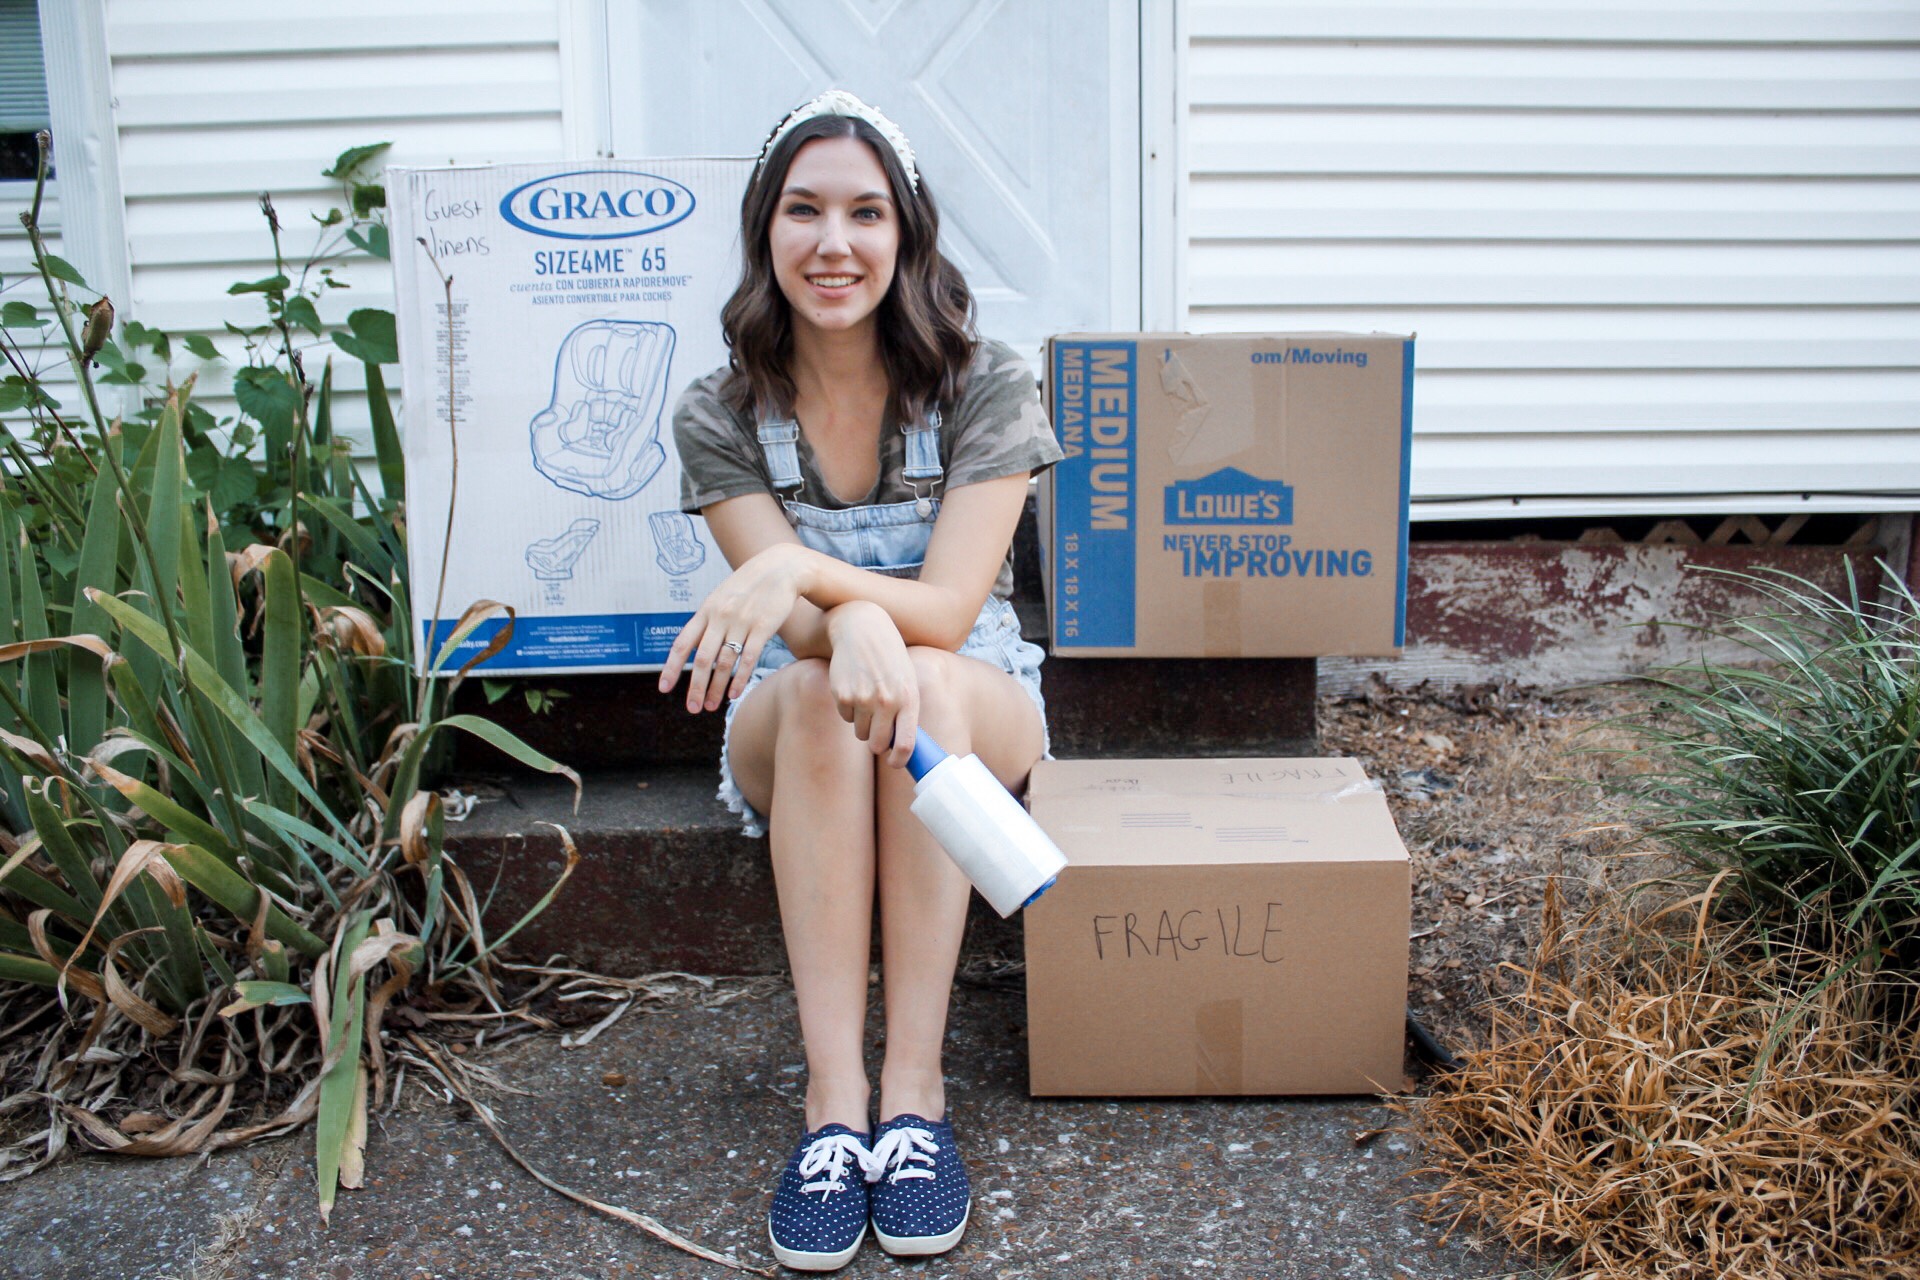
Here’s something I didn’t know before becoming a mom: managing your child’s clothes is a full time job. Literally just keeping Lyla clothed takes up so much of my brain space. Does she have play clothes, church clothes, shoes, and pajamas that fit? She needs enough for multiple outfits a day on messy days, but not so much that she doesn’t wear things before she outgrows them. She’s in 18 month size at one store, 12-18 months at another, and some 18 month clothes are too big. It’s a lot to keep up with, and that’s not to mention pulling things she’s outgrown and making decisions about whether to keep them for a future baby or donate them. And if you keep them, how do you store them? This is why the Proverbs 31 woman got up so early! I’m certainly no expert, but I wanted to share the basics of my approach for any other moms who might be interested.

  1. Buy minimally: The easiest way to keep clothes from piling up is to be conservative when buying. Babies grow SO quickly. Realistically, they’ll only get to wear things a few times. The caveat? They may go through multiple outfits a day, depending on how messy things get. I like to buy for Lyla one size at a time, but I don’t wait until she’s grown completely out of her current size. When her onesies start to get hard to put on, her pants turn into capri pants, and her little toes are pushing her jammie feet, I go ahead and get the next size up. Be mindful of the seasons when buying. Are they outgrowing things at the end of summer? Buy fall clothes in the next size up, with a few transitional pieces to carry them over. I don’t impulse buy. If I see something cute that catches my eye, I make myself come up with multiple different places she could wear it. I check to make sure it will be easy to put on and take off for diaper changes. I never just toss something in my cart. Of course I still have fun dressing my little baby doll, but I try to avoid wasting money on outfits she won’t wear.
  2. Purge frequently: Each time Lyla grows into a new size, I purge the old size from her closet and dresser. I go through her clothes as if I know for sure we will have another girl and save what I want. I don’t get everything out at once and make a huge, overwhelming mess. As things come through the laundry, I set them aside. While she plays in the floor in her room, I grab the old size from her closet. I go through her dresser while Andrew is watching her in the evening. I may spread it over a whole week if that’s what’s realistic. When I’ve got everything collected, I separate into keep and donate. I use clear tubs for storage because I like seeing what’s in there at a glance. I label in Sharpie what size is in the tub. Donations go into paper bags and get taken to a local charity that serves women & families, or to a friend with a younger baby. Is there a foster family in your social circle? Ask if they know anyone fostering a baby wearing that size and bless them with it!
  3. Donate generously: Speaking of donation, I really encourage donating vs. consigning. I know there are some who are able to make very good money by consigning, and maybe if I had multiple kids or a high volume of items I would do it too. For me personally, it is not worth the amount of time consigning takes to make that money. That’s just my personal economy. There’s nothing wrong with consigning and it can be a smart, frugal way to serve your family. I’m just convicted that I don’t NEED that money, but someone might really need those clothes. I like to get things out of my house as soon as they stop serving our needs, and the thought of holding on to a ton of clothes waiting for a consignment sale or for someone from Facebook to Venmo me gives me acid reflux.

Again, I’m no expert, but these are the things that have made this Hurculean task feel manageable. Over the course of the last 16 months, I’ve gotten into a groove and found the system that works for me. Do you have any questions about how I shop for, store, or otherwise keep up with Lyla’s clothes? Any tips of your own? Share them in the comments!

New Years’ Cleaning Do’s & Don’ts

I don’t know about you, but I’m always way more motivated to clean my house in January than I am in the spring. Sure, we still have a couple months of winter to weather, but the clean slate of the New Year pairs well with a clean house. Doing a deep clean in January also helps me remember to tackle some of those often overlooked tasks that can sneakily make your house feel dirty, like cleaning ceiling fans and baseboards. Today I’m sharing some do’s and don’ts I’ve learned over the years. Here’s to a fresh start and fresh bed linens!

DO start slow. Any big cleaning project can get overwhelming fast. The quickest way to ensure burnout is by biting off more than you can chew. Be gracious with yourself and realistic about what you can tackle in a given time frame. Prioritize cleaning first, worry about organizing later. I’m gonna repeat that for all my fellow Type A overachievers–You can organize later. Start by cleaning what you have. Make a list of what you’d like to get done in each room, then take one room at a time. Make a note of possible organizing projects, storage solutions, and household needs as you go. As long as you’re intentional, it will get done. Set a goal to have the house deep cleaned and organized by the end of January, not by the end of the day January 1st.

DON’T try to clean and organize your entire house at once. I don’t know who needs to hear this, but you are not going to get your entire house clean during nap time. I tend to get spurts of energy, convince myself I’m going to take on the world, then get burnt out after an hour and crash hard. Be strategic, take baby steps, and know that it might get worse before it gets better.

DO purge what doesn’t serve you. Once you’ve scrubbed away the holiday stress (and ornament glitter) from every surface, you can start purging. Take a pass through the kids’ toys now that you’ve added Christmas presents into the mix. Give everyone’s wardrobe a glance. Any clothes that don’t fit your quarantine bod should be donated or stored away. Same goes for anything the kids have outgrown. Any space that is bursting at the seams needs to be evaluated. Any items you just can’t seem to find a place for should be addressed. Don’t over-complicate it. Is it actively serving a need or adding to your quality of life? If not, it’s clutter and it’s adding to your stress level. Make like Elsa and let it go.

DON’T get rid of everything you own, only to have to re-buy it later. This is hard to type out loud, but admitting is the first step. I…am an over-purger. I tend to get in fits where I feel almost claustrophobic and want as few things in my house as possible. I’ve learned the hard way that some things you just have to hang on to until you can afford to replace them well. (My husband is triggered by the term “throw pillow.”) I’ve learned that you should never get rid of clothes during your child-bearing years, because your size will change so frequently. As long as you’re using something or may legitimately have a need for it in the future, you can keep it. Just don’t let your definition of “need” get so broad that you keep everything.

DO get the tools you need to get started. Before you start, make sure you have all your household cleaners, sponges, brushes, mop refills, etc. There’s nothing more discouraging than getting some momentum going only to realize you can’t complete your to-do list with what you have on hand. Make it a point to include any cleaning products you’re out of or running low on in your next grocery run.

DON’T spend one bazillion dollars on organizing bins because you watched a Netflix show about Khloe Kardashian’s garage. Before you tackle any organizing projects in your house, step back and strategize. What do you need to store in this area? What pain points are you hoping to address? Think about it in a problem/solution format instead of just thinking about how you want it to look. You may have to shop around and compare prices before committing to containers. Keep receipts and price tags in case you need to return products that didn’t end up working. The price of home organization products has risen with the popularity of shows like The Home Edit and Tidying Up. You can very quickly end up spending an amount of money that doesn’t make sense for your needs. As eager as you are to have it done, take your time. Pin photo inspiration, measure your space, and make a plan before you shop.

Now that you’re armed with those tips, go forth and clean! I’m cheering you on, and remember, you have all year to accomplish your resolutions.

Moving? Here’s how to stay organized.

Is it just me, or does something go missing in every move? Or maybe several somethings. I’ve moved 17 times. I don’t mean I’ve lived in 17 different places, although sometimes I feel like I have. I mean I’ve packed up all my earthly possessions and moved them that many times. Between leaving my parent’s house for college, two dorms, one duplex, one janky apartment, one Disney College Program apartment, one internship, two townhouses, and now our farmhouse rental, I’ve got some serious experience under my belt. I’ve lived in three states, 5 cities. Moving can quickly overwhelm even the most organized person, and no matter how prepared you are, it has its unavoidable chaotic moments. Add in a global pandemic that complicates EVERYTHING, and you’ve got a real challenge on your hands. That’s why today I’m sharing all the tips I’ve learned along the way.

  1. Group like items vs. packing by room: Packing by room makes sense to a point. (Ex. packing the kitchen last). But it can get confusing when you have the same types of items in a bunch of different boxes. Categorize your belongings before you start packing. Categories that are stored in multiple rooms should be packed together to make unpacking easier. For example: maybe you have books in multiple rooms. It will be so much easier to pack all your books together and have boxes labeled “books” than it will be to have boxes labeled “bedroom” and “guest room.” Moving is hectic, and you won’t want to have to think about where specific items were in your old space. Group them together so you have everything in front of you when you’re deciding how to store them in your new space.
  2. Think like a professional mover: Pack books in small boxes so they don’t get too heavy. Place heavy items on the bottom of the box so lighter items don’t get damaged. Use towels, linens, and pillows to cushion boxes you aren’t able to fill up to the top. Wrap doors on furniture with plastic so they won’t open while being moved. Don’t pack anything that’s in a removable drawer. Take the drawers out to move the piece, then put them back in once it’s on the truck. Use your baskets, bins, and laundry hampers to collect random items that are left until the last minute. Do whatever you can to make the moving itself easier and smoother.
  3. Label, label, LABEL: The most frustrating part of moving is getting to your new house, looking for something specific, and wondering “Where did it end up?!” (We’re looking at you, Ashton’s retainer.) Your future self will thank you if you take the time to write down EVERYTHING you’re putting in each box. Be detailed. List it out, especially if it’s a random assortment of items. Examples: Write “winter clothes, outerwear, scarves/hats/gloves, winter boots” instead of just “clothes.” Write “Lyla size 18 months & up” instead of just “baby stuff.” You should be able to tell what’s in the box without opening it. And know that if you ever write “Miscellaneous” or “Stuff” on a box, I will crash through your wall like the Kool-Aid man and knock the Sharpie out of your hand.
  4. Always over-protect: If it’s breakable, assume that it will break and plan accordingly. Use foam wrap for dishware, bubble wrap for glass, and plastic wrap or newspaper for anything questionable. You can spend your time, money, and effort protecting what you have or cleaning it up and replacing it when it breaks.
  5. Invest wisely: Moving can get expensive fast. Choose where to invest to make sure your items get to their destination safely and without damage. If you’re using a professional moving company, look into their pricing and service offerings. It may make more sense to go ahead and pay them to pack up your items as well as load them. This would be a great option if you’re in a position where you simply don’t have the time to dedicate to packing up carefully. If you’re doing the move yourself, don’t skimp on materials. Good quality boxes, tape, and protective wraps will ensure that even in a DIY move, your belongings are protected.

These tips have served me well over the years. I’ve never had anything get irreversibly damaged, and 99% of my stuff seems to make the trip. For some reason there are always some clothes that seem to enter the spirit realm before we can reach our destination. Any moving hacks that have saved you? Drop them in the comments!

Nursery Organization Tips

I’ve been obsessed with organizing ever since I can remember. I used to spend way more time setting up and putting away my Barbies than I did actually playing with them (I may or may not have used a small tackle box to store their shoes by color). When it came time to set up Lyla’s nursery, I wasn’t sure where to start. I had never had a baby. How was I to know where all that tiny stuff should go?! Now that I have eight months of experience under my belt (baby months are like dog years), I’m sharing my tips on how to organize your nursery storage!

RYMD6989

Grab and go: Many things babies need, they need urgently. Make sure those items are stored where you can grab them quickly. For example, bibs and burp cloths for spit up, blankets for tummy time, and a diaper changing station stocked with everything you need. You’ll need to be able to grab things with one hand, so avoid containers with lids or fasteners. Pictured above is our diaper changing station. The bin contains diapers, wipes, diaper cream, hand sanitizer, and lotion. The top drawer of the dresser is always stocked with an extra container of wipes, extra diapers, extra disposal bags, and clean changing pad covers.

IMG_1814

At a glance: Make staples easy to see so it’s obvious when you’re getting low. There’s nothing quite like realizing you just put the last diaper on your baby’s bum to strike fear into a parent’s heart. I keep our diapers, wipes, and extra changing supplies on this cart.  You can use them creatively in so many ways. They’re attractive enough to be out in plain sight, but the wheels allow you to tuck them away if needed.

RHTV0940

Out of sight: There will be a lot of things you need for baby eventually, but you don’t need them front and center right away. Store those items in a place that allows you access to them fairly easily, but keeps them out of sight and mind in your day to day routine. This cube storage worked perfectly for me. The top three cubes hold clothing in sizes she hasn’t grown into yet, the bottom three hold feeding supplies, bedding, and towels. Things I do need are easy to grab (like a towel for her bath each night), but infrequently used items are neatly stored away all within the same piece. I like that cube storage can grow with her needs as she gets older, and we can swap out bins as her tastes change.

IMG_1809

Bonus Tip: Baby things are so small! Drawer dividers or small bins will go a long way in helping you keep it all sorted. I use these in Lyla’s drawers to separate her clothing by type so I can get her dressed quickly and easily. I use tape for labels so I can switch them out as the seasons change.

Babies are constantly changing, but these storage solutions have grown with Lyla and served her ever-changing needs. I’m a firm believer that life will throw you plenty of chaos you can’t control, so you might as well organize the chaos you can control!


How to Spring Clean Your Closet

00000164

We’ve finally enjoyed a few days of spring weather, and I feel like a new woman! I’ve lit my lemon-mint candle, I’ve painted my nails pastel, and I’m forging ahead with spring cleaning! One of the areas in my home that needs the most TLC is my closet. Opening your closet shouldn’t stress you out. You probably open it multiple times a day! Today I’m sharing how I go through my clothes and accessories to keep my wardrobe well-curated and my closet de-cluttered.

Eliminate Obstacles

This is my number one approach to getting rid of clothes. Every item in your closet should be something you can easily and comfortably wear. As you go through your clothes, note any obstacles that keep you from wearing them. Examples include:

-It’s itchy or uncomfortable. You’ll never wear it, and if you do, you’ll be miserable all day.

-You can only wear it with a certain bra. In my experience, that certain bra is usually uncomfortable and may require an engineering degree to put on. You’re never going to feel like going through the trouble to make it look just right and ensure no wardrobe malfunctions throughout the day.

-It only goes with one other thing in your closet (i.e. you can only make one outfit with it). I have a rule that every item in my closet has to be able to pull at least double duty. I have to be able to wear it two different places, wear it alone in summer and layered in winter, or be able to pair it with several other items in my wardrobe.

-It doesn’t fit. If something doesn’t fit, you can’t wear it. If you do wear it, you’re going to be self conscious. And every time you pass it up in your closet, it’s going to chip away at your self esteem. You’re clothes aren’t allowed to do that to you!

As you are going through and picking out your outfit for each day, if there is something you consistently skip over for any of those reasons or others, get rid of it. This will reduce so much stress in your every day routine.

00000152

Don’t get sentimental

Clothes are for wearing, not for looking at. You may have had a wonderful time in that corset-back bridesmaid’s dress, but chances are you don’t have any hand-maidens to help you get dressed in the morning. I have to remind myself that I can keep the memories without keeping the physical item. If there are items in your wardrobe that you’re only keeping because of sentimentality but you never wear them, that’s called hoarding. Choose a select few that you will wear or pass down and let go of the rest.

Make the best of your space

Andrew and I have shared a closet since we got married. The closets in our townhouse are small, so we kept our out-of-season clothes in the guest closet. No matter what we did, our closet never looked clean and there never seemed to be enough space. This year we realized we weren’t using our space efficiently. We consolidated all my stuff into the master closet and Andrew took the guest closet. Now each of our clothes are in one place and we’re not elbow to elbow trying to get ready in the mornings. Whatever space you have, make it work for you. It doesn’t have to look like Pinterest, it just needs to be functional. For example, the trend in organizing right now is to have all matching hangers. But I found that the no-slip hangers stretch out some shirts, so I use a mix of no-slip and plastic hangers. No one would Pin this photo, but this is what works for me. List out the problems with your closet, list out how you need your closet to function and what you need storage for, and compare those two lists to find solutions.

Remember that you don’t have to clean your closet all at once. Curating my wardrobe is something I do continually throughout the year. So when it’s time for spring cleaning, it’s not such a huge undertaking. Have a spot for donations in your house where you can let things collect until you’re able to make a drop off. As you get ready each morning, make note of clothes you always pass up. If you wear a pair of shoes and you’re uncomfortable all day, don’t put them back in your closet. Toss them or take them to the donate pile. Life is too short, y’all!

I promise when you get your closet cleaned out you will feel such a weight lifted off your shoulders. Getting ready will be so much easier and you’ll be free of some clutter. If you take on the challenge, tag me in your before and after pictures on social media!