The case for yearly family photos

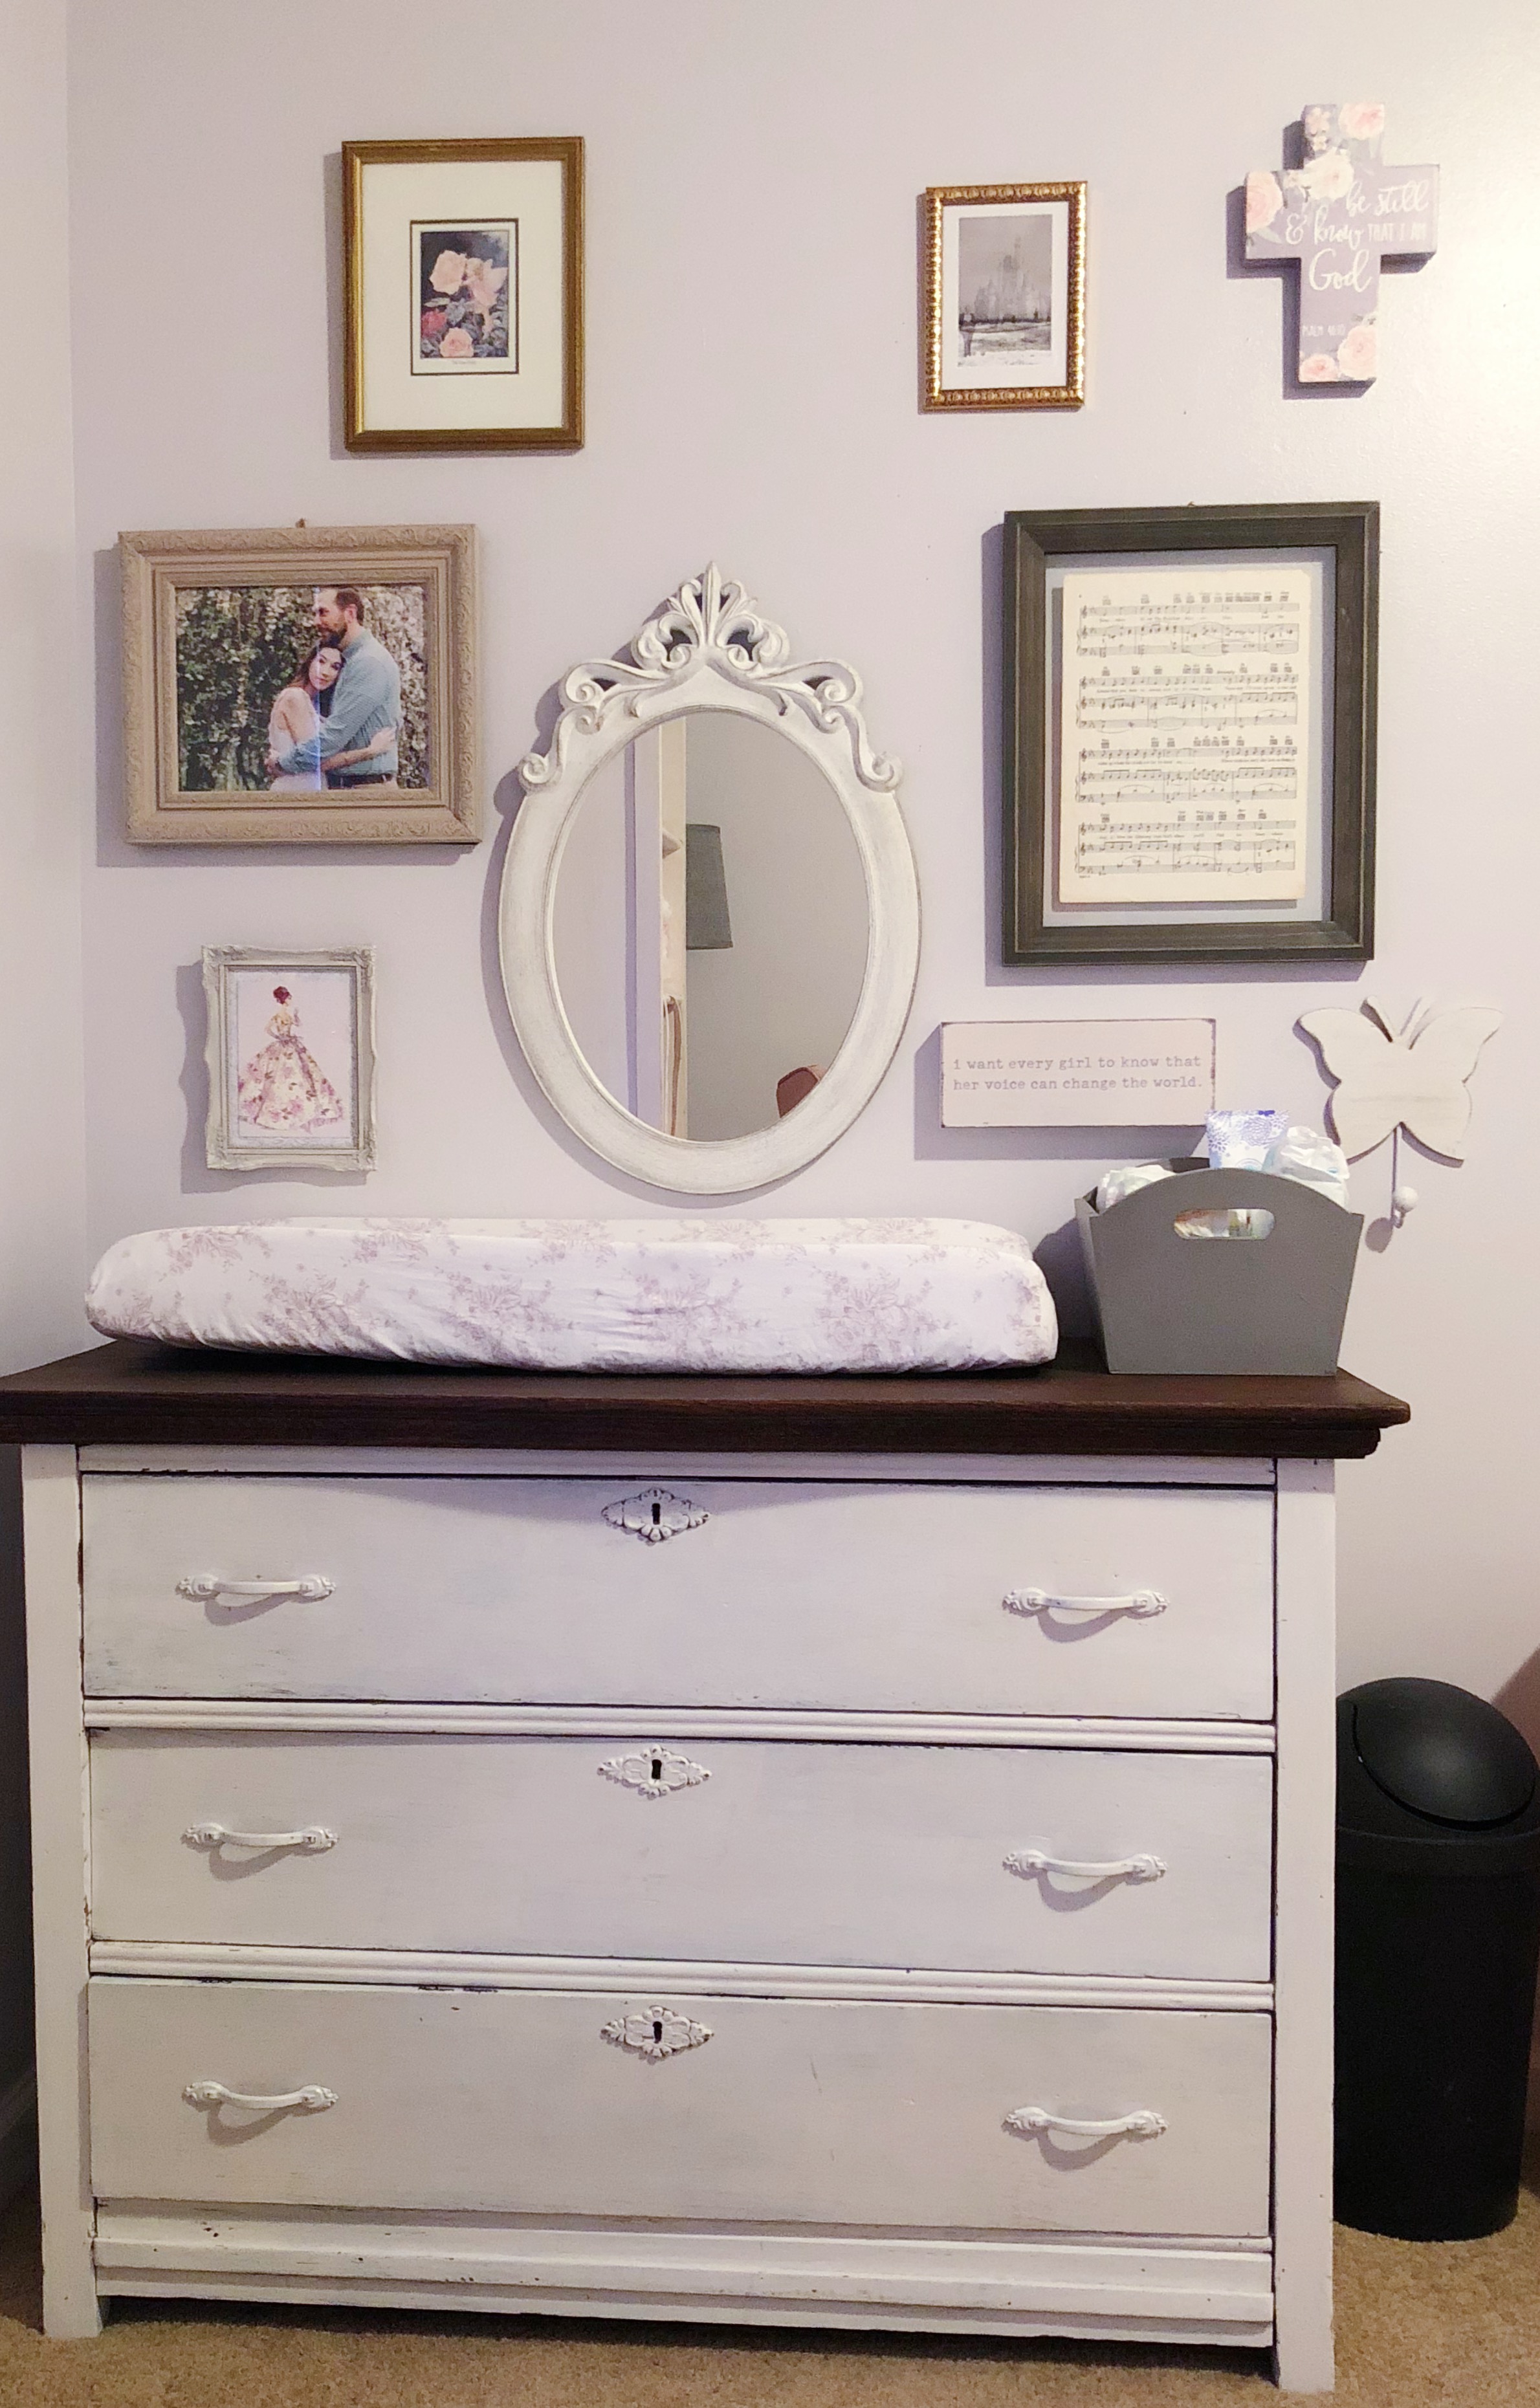
This gallery wall is a house project I’ve had in my head for years, and I finally have enough high quality photos to fill up our wall space. As I look at these pictures, I’m struck by how faithful God has been over the years to provide for us in each season. I’m also struck by how well-rested we look in our wedding photo!

I’ve made it a point to have professional photos taken every year since we were engaged. Time moves so quickly, and I want to commemorate each year together as something to celebrate. We skipped 2018 because we had unexpected job loss that made it financially unwise, but we made up for it the following year by booking two shoots throughout my pregnancy. These photos are treasures to me, and I encourage you to prioritize documenting your family in photos. During my time in Lexington, I was lucky enough to work for an incredible photographer and I learned so much from watching her work magic. (Lexington area friends, Kelsey Malicote is the GOAT!) Here are some tips to make yearly family photos happen!

Put it in the budget: Andrew was initially reluctant about annual photos due to the cost. Thankfully, he trusts me, so when I’m really passionate about something, he’s willing to try it. We got our first family photos taken when Lyla was five months old, and he immediately said, “This is the best money we’ve ever spent.” As long as you’re working with a trustworthy, professional photographer whose work you love, you will never regret having photos of your family. Even if you don’t have kids yet, you’re a family of two! I love looking back on our newlywed photos and having them to share with Lyla one day. If you go into your budgeting with the mindset that you’re going to book photos each year, you can set the money aside in whatever way works best for you. Save up over time, transfer a lump sum to savings so it doesn’t get spent, designate it in your Excel sheet…whatever you need to do. If you want to make family photos a priority, be willing to make them an investment.

Make it a date: Once you’ve budgeted for photos, consider when you’ll schedule them. Every household is different so there’s no one size fits all answer. What makes the most sense for your family? Consider making this your yearly Mother’s Day present and book photos in May every year. Do you want to have a standing Christmas card photo shoot? Maybe late fall would work best. Does your family take a yearly beach vacation? Perhaps there’s a local photographer who could capture those memories each year. If you want a variety of settings/backdrops, maybe you’d like to choose a different season every year. Think about what milestones or special events your family has coming up and let that inform when you choose to book your photo shoot.

Find your person: Do not…and I cannot stress this enough…cheap out on this. The old adage, “You get what you pay for” is never truer than in professional photography. Trust me; there are some bad ones out there. None of your forethought and preparation will matter if you don’t like your photos. Research photographers in your area. Look at their work online. Pay attention to the photos your friends post and display in their home. If they have beautiful photos, ask who took them. Once you find someone you love, reach out to them and get your session booked. Don’t put it off! Professional photography is an industry that never sleeps, and chances are the good ones in your area book up quickly and well in advance.

Set yourself up for success: As you work out the details of your session, be realistic. During my time as a studio assistant, I cannot tell you the number of photo shoots I culled where it was clear the subjects thought putting a camera on their family would somehow alter reality. If your dog is jumpy and wild, don’t bring him. If your toddler usually naps at noon, don’t book your session for 12:30. If your baby hates grass, book a studio session instead of an outdoor location. In short, use common sense. Don’t live in a fantasy world. Ask yourself, what is the best use of this valuable opportunity? Do I desperately need a photo that includes my three dogs, cat, and all of my family members? (Y’all. You don’t.) Or would I rather stand a chance at a photo where everyone is looking at the camera? A great photographer can get the shot no matter the challenges, but I promise you will have way more photos to choose from if you keep it simple.

Another way to ensure the shoot will be a success is to be realistic about what your photo subjects can handle. Do you have small children? Opt for a mini session. They’re less expensive and will be over before attention spans run out. Don’t dress them in itchy, uncomfortable outfits. Make sure they’re well rested, well fed, and offer a post photo shoot reward (read: bribe) if necessary. Make sure you stay true to your word and you’ll stand a better chance at cooperation in the future. The less you torture them, the more likely they are to smile.

What to wear: This is probably the element of family photos that causes people the most stress. The effort to get everyone dressed well, out the door, and to the shoot location on time and without blemish is enormous. To get the most out of your session, think carefully about what you’ll wear, but don’t obsess. Think simple and timeless. Where will you hang these photos? Let that inform the color palette. Is your home mostly neutral? Have your family dress in neutrals. Are these photos going to hang in your blue and green living room? Consider a blue and green color palette for everyone’s outfits. You don’t have to match perfectly, in fact that look is pretty dated. Choose pretty colors that look good together, avoid too many patterns, and be true to your style. This is not the time to make a bold, out of character style choice or wear something you’ve never tried on before. Opt for a tried and true outfit, or buy something new ahead of time so you have time to try it on and make sure you’re comfortable in it.

The most important thing to remember about family photos is, this is not an effort to trick people into thinking you’re perfect. It’s an opportunity to capture who you are in this moment in time. Screaming at your entire family 15 minutes before the shoot isn’t going to make for great memories or great photos. If you follow the advice I’ve shared here, you can minimize the stress of this often overwhelming task. If you find yourself wishing you could freeze time, wanting to look at your people in each of their phases, use these tips to make yearly family photos a part of your family’s rhythm.

How to Decorate with Vintage Books

I love collecting vintage books. Not only do I enjoy flipping through them, I love using them as decor throughout my home. There’s something cozy about worn, well-loved books. Here, I’ve listed a few specific ways I like to use books in the home that I think anyone can incorporate!

Play up color

One of my favorite ways to use vintage books is to subtly play up the color palette in a room. I got it from my mama, who would pick up on accent colors in furniture upholstery and match them to the books on display. This doesn’t mean you can only have books in a room that match the color scheme, but if there’s an area you want to look particularly stylized, vintage books are an easy and inexpensive way to pull color and make the room look cohesive. I also love playing with different color palettes using stacks of vintage books. I get inspiration from color more than any other design element, and so many times I can see a color palette in my head but not really put it into action. Playing around with different color combinations and being able to see them up against each other helps me hone in on what I love. Once I have a color palette I can build a room around it.

Add height

If you have a specific area you’re trying to style, like a coffee table, console, or, of course, a bookshelf, stacking vintage books is a simple way to add height, dimension, character, and visual interest. Top the stack with a candle, vase, framed photo, or trinket to add your personal style. Vintage books have great color and patina you just can’t fake.

Mix neutrals

If you’re looking to do a neutral palette but you’re not a fan of the “turn your books backward” trend, use books in neutral colors as decorative accents. Similarly, if you like to mix multiple neutrals in a single space, use neutral books to emphasize that the mixture is an intentional design element.

Nod to your interests

Don’t overlook the titles of vintage books. Vintage textbooks in your field, books about your state or region, and titles related to your hobbies and interests all make for great conversation starters. For example, I took French as my foreign language in school. In college I desperately wanted to live in France after graduation. Any time I see a vintage French book, I add it to my collection. You can also nod to your family history. Some of my most treasured vintage books are my aunt’s 1970’s copy of Black Beauty she gave me in second grade. It was one of the first chapter books I read and has a beautiful cerulean blue spine. I also have a hymnal from the church my mom grew up in, which is where my parents were married. Maybe most special is my grandpa’s old Georgia agriculture textbook from the 1950’s with his notes in the margins. He worked in state agriculture his whole career and was descended from generations of Georgia & Alabama farmers. Part of the fun of using vintage items in your decor is the story they have to tell. When it comes to vintage books, that notion can be taken literally.

Do you use vintage books in your decor? Do you have any favorites? Ask your grandparents and other relatives if they have any they could part with, and use it as an opportunity to learn more about them & your shared history. Any suggestions for how to use them besides what I’ve listed here? Let me know in the comments!

Simple Fall Decor

I was so excited for fall this year. I couldn’t wait to put out all my fall decor. Then I realized, I literally have two flat surfaces in my home that I can decorate. For one thing, we’re living in a rental that we had to move into very quickly. It’s an old farmhouse so it was built for utility, not luxury. The other reason? I have a one-year-old who is into EVERYTHING. Anywhere she can reach is off limits for breakable items. Or items that could not conceivably withstand being coated in peanut butter. Needless to say, I’ve had to adjust my expectations for decorating this year. At first I was a little bummed, but I shifted my perspective and I’m challenging you to do the same. Instead of feeling like you have to buy something new, flex your creativity and be inspired by what you have. This is a good practice no matter what season you’re in.

Decorate smarter

For holidays/seasonal decorating, I like to pick a few key areas to focus on, rather than feeling like I have to fill the whole house. Like I said, my spots to decorate were chosen for me by my circumstances. I have our porch, our entry table (which is actually a buffet), and the top of our bookshelf. Since I couldn’t go too crazy on either of the indoor surfaces, I decided to focus most of my creativity on the porch. It made perfect sense because Lyla can’t wreck something she’s never around, and our porch isn’t big enough for play. I bought pumpkins and a mum from a local pumpkin farm. I had so much fun picking them out! I bought one bag of small pumpkins and one bag of gourds from the Walmart produce section. Other than fall candles, that was all I spent on fall decor this year. Since my other decorating was so minimal, I knew it would be silly to spend money on it. I laid out what I already had and picked a few simple things.

Decorate smaller

I always love grouping collections of small items together. It’s a great way for your decor to look intentional, it’s interesting without being too busy, and it’s inexpensive. I made use of our letter board by putting up a fall quote by my favorite author, F. Scott Fitzgerald.

Don’t overthink it

On our bookshelf, I swapped out a quote I keep up year round for this fall-themed piece. On top I simply placed a pumpkin and a fall candle. These items have to be kept out of Lyla’s reach. The other shelves are for Lyla’s books and large books that anchor the shelves in place so she can’t pull them out. (Yes, that happened.) I left the rest of the space empty because she pulls everything off. We always discipline Lyla when it comes to her safety, but for me personally, I don’t think decorations are worth the fight right now. Of course she’s going to pull things down that she can reach. She won’t be this little forever, and a home is for living, not looking perfect.

As much as I love going all out and getting festive, sometimes it’s nice to pare it down and really focus on the memories made in your home rather than the decorations you put up. I still had fun figuring out how to use what I have in this new-to-me space, and the small touches go a long way in a small house. How are you decorating for fall this year? Do you go all out or keep it simple? Share in the comments!

Lyla’s Nursery Reveal

NDHL1051
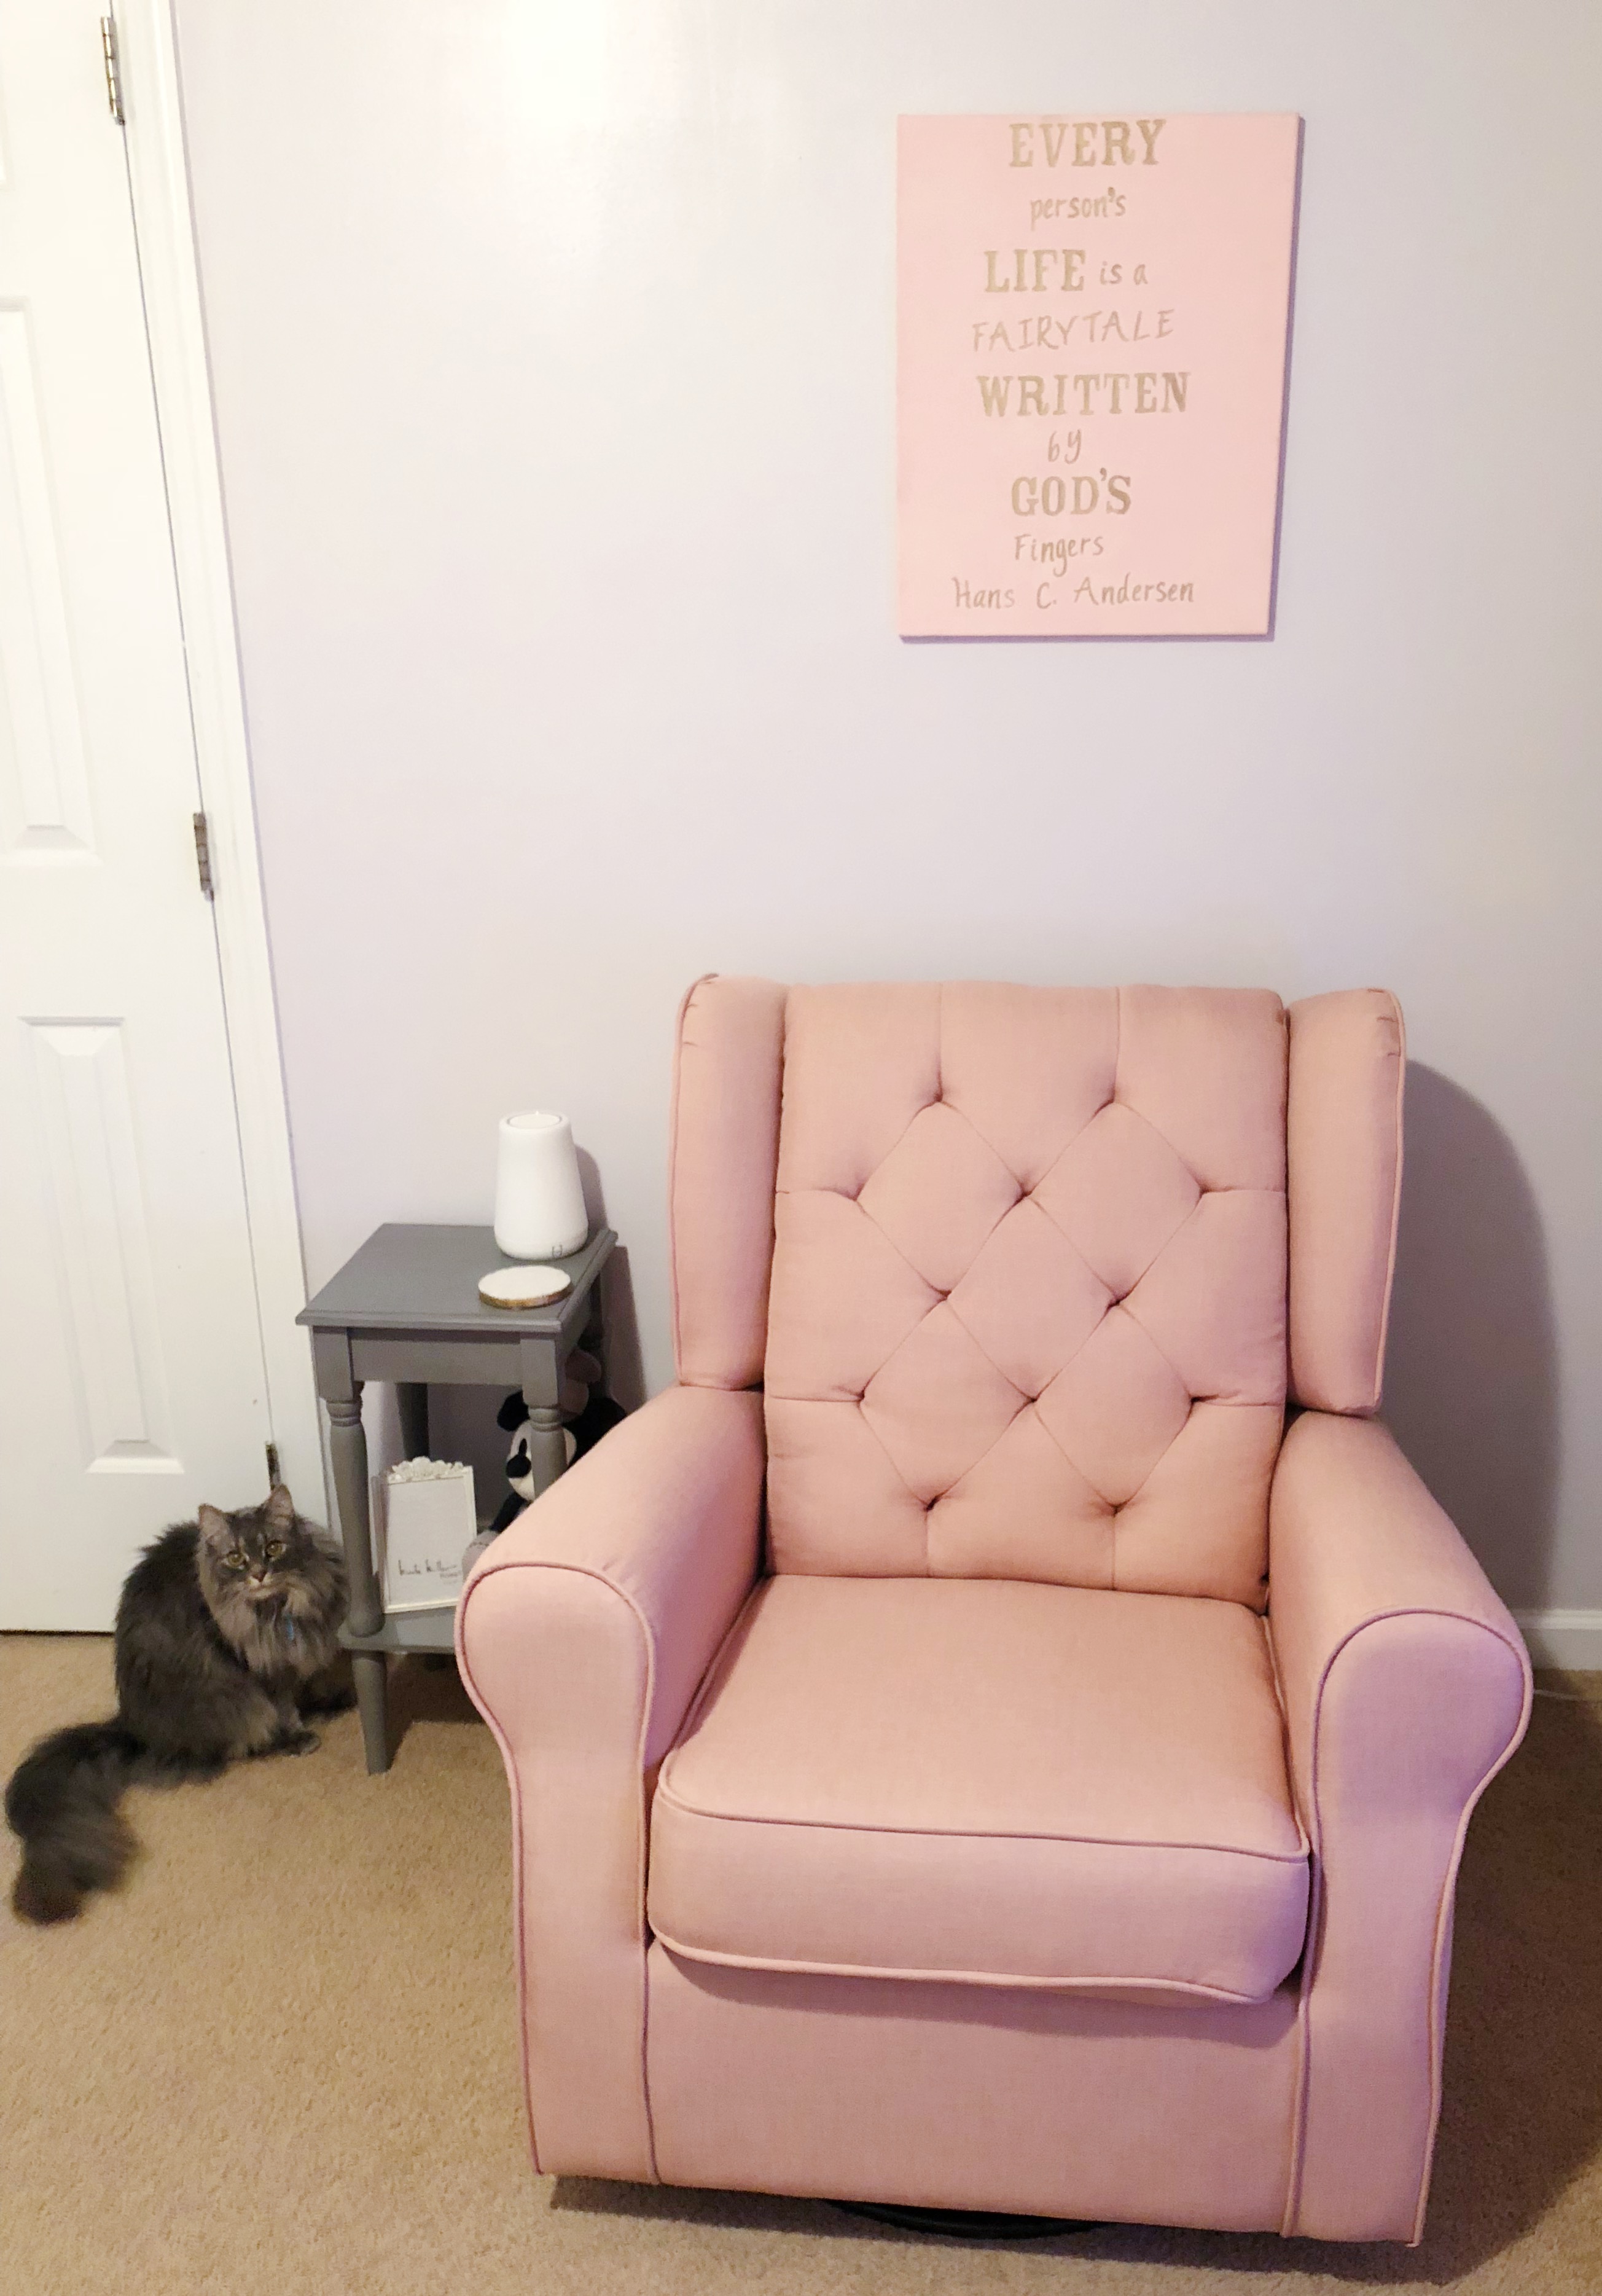
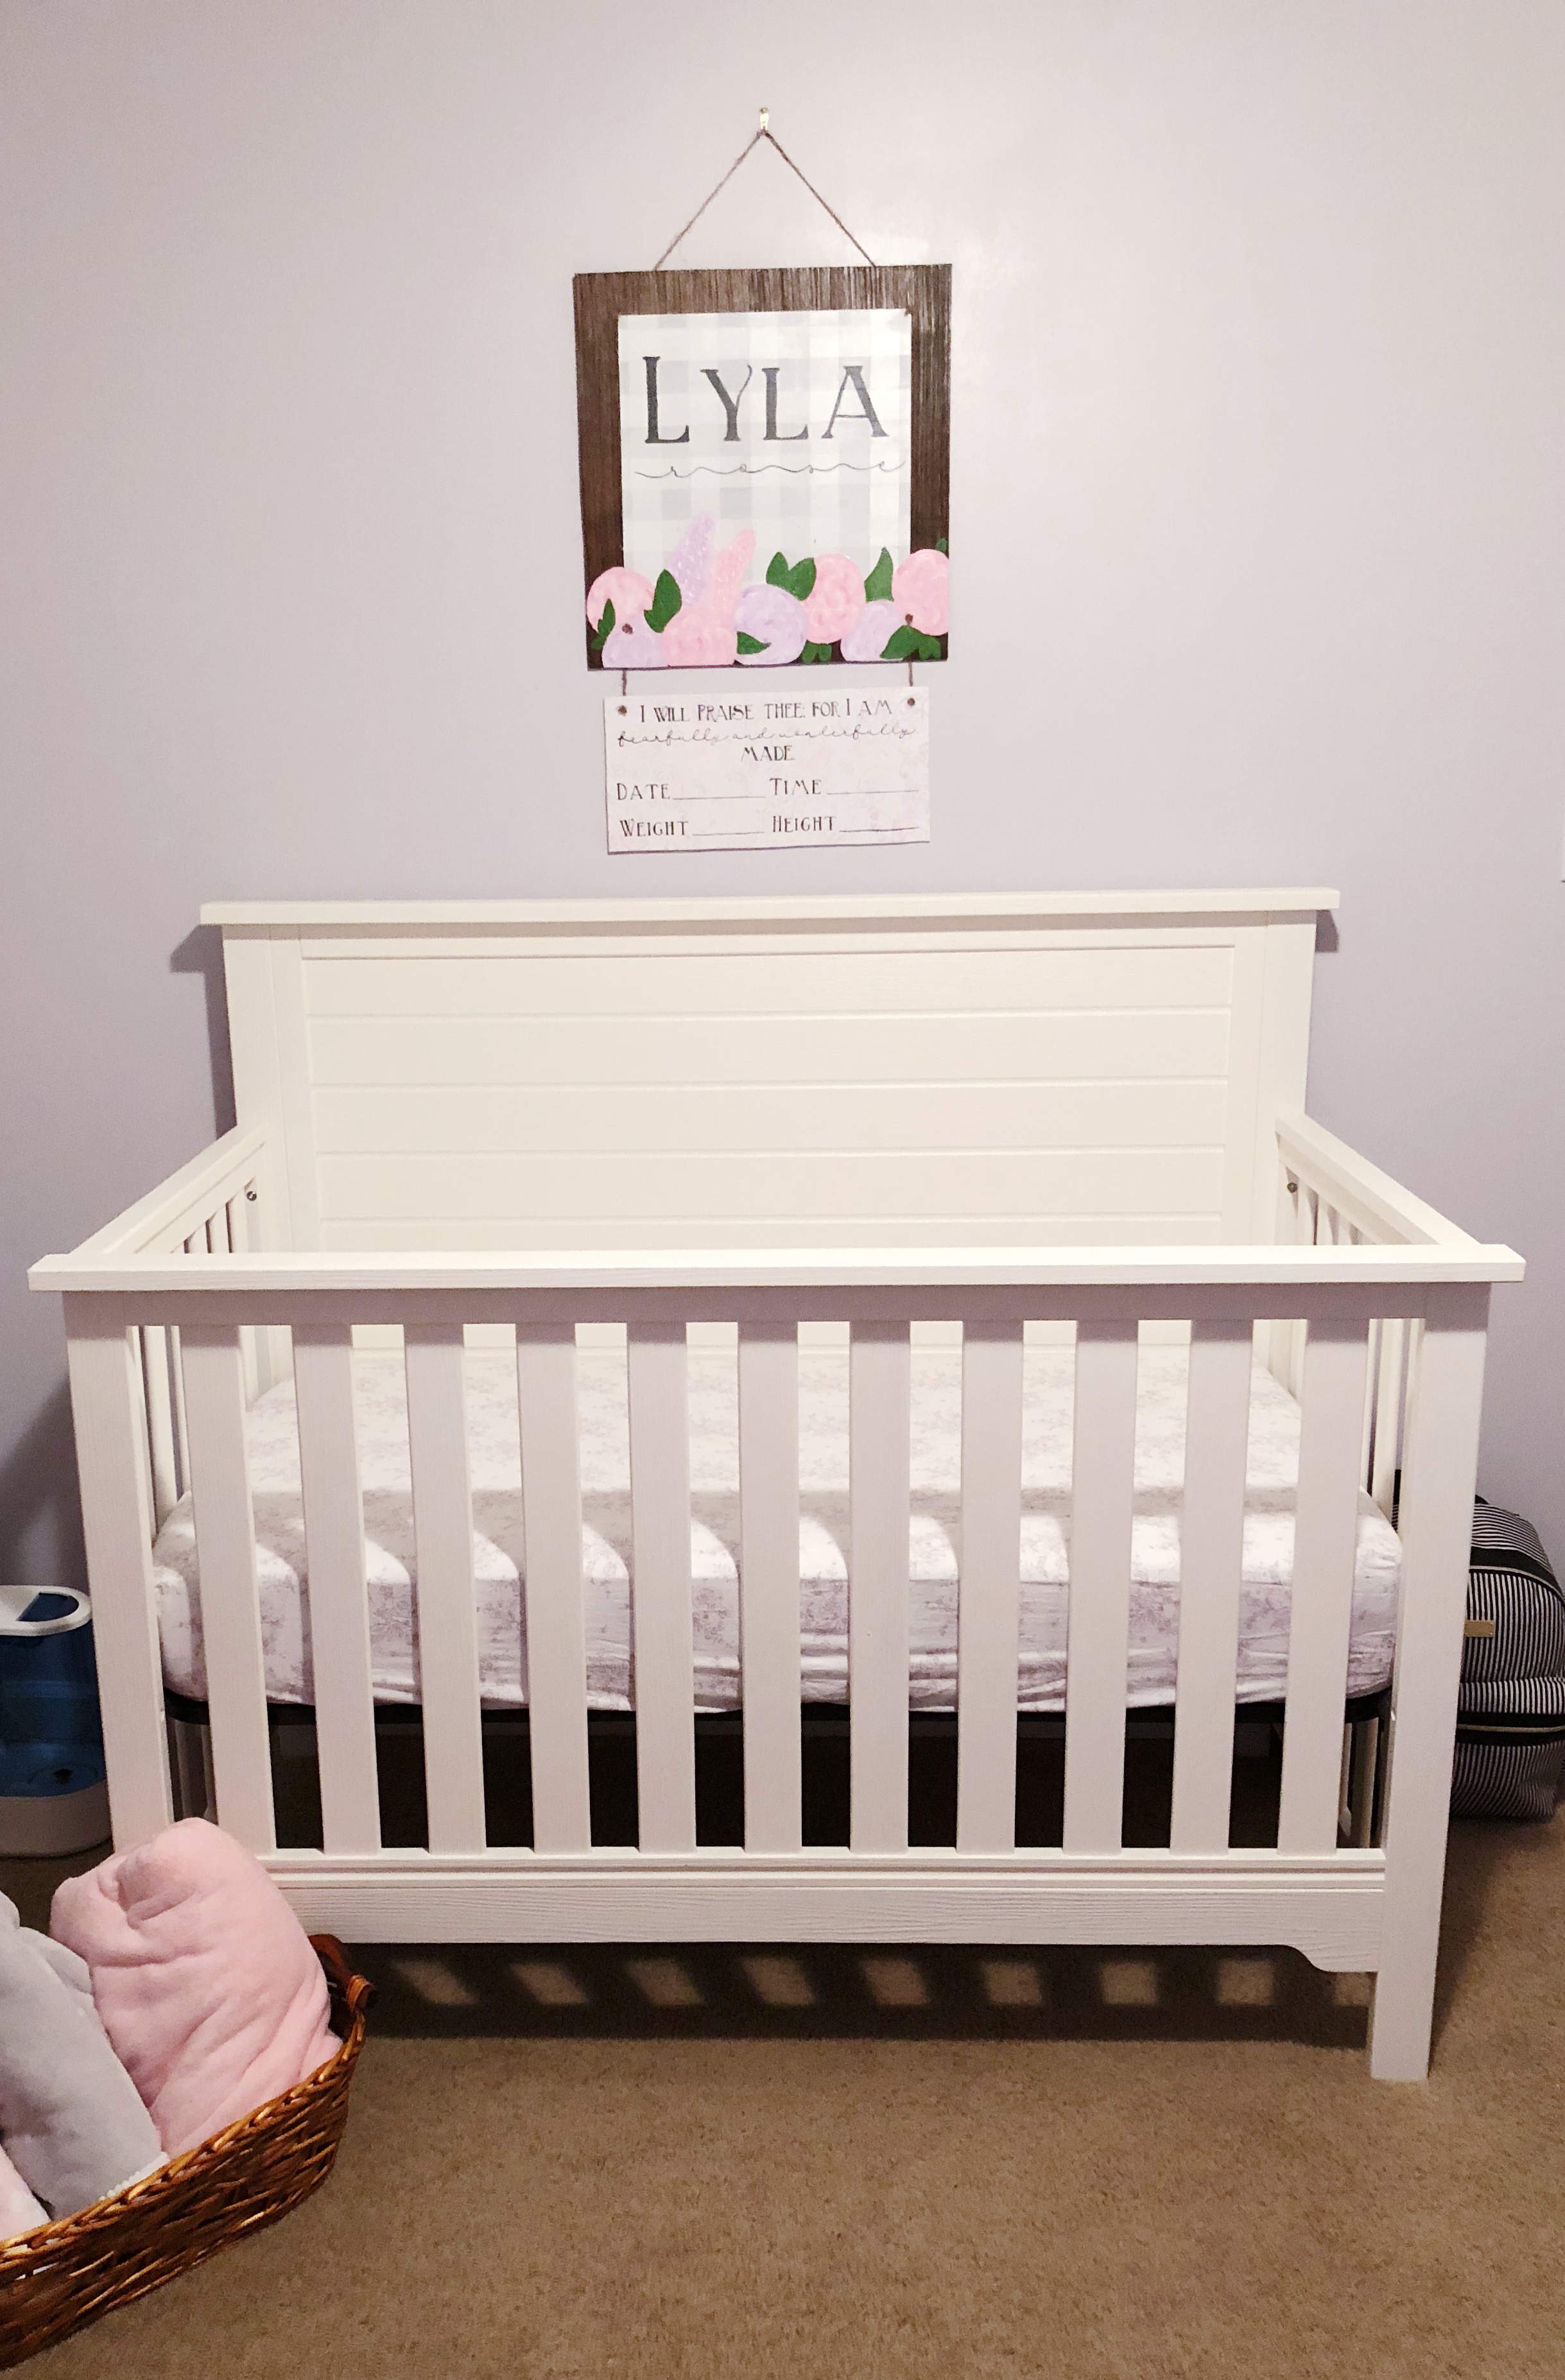
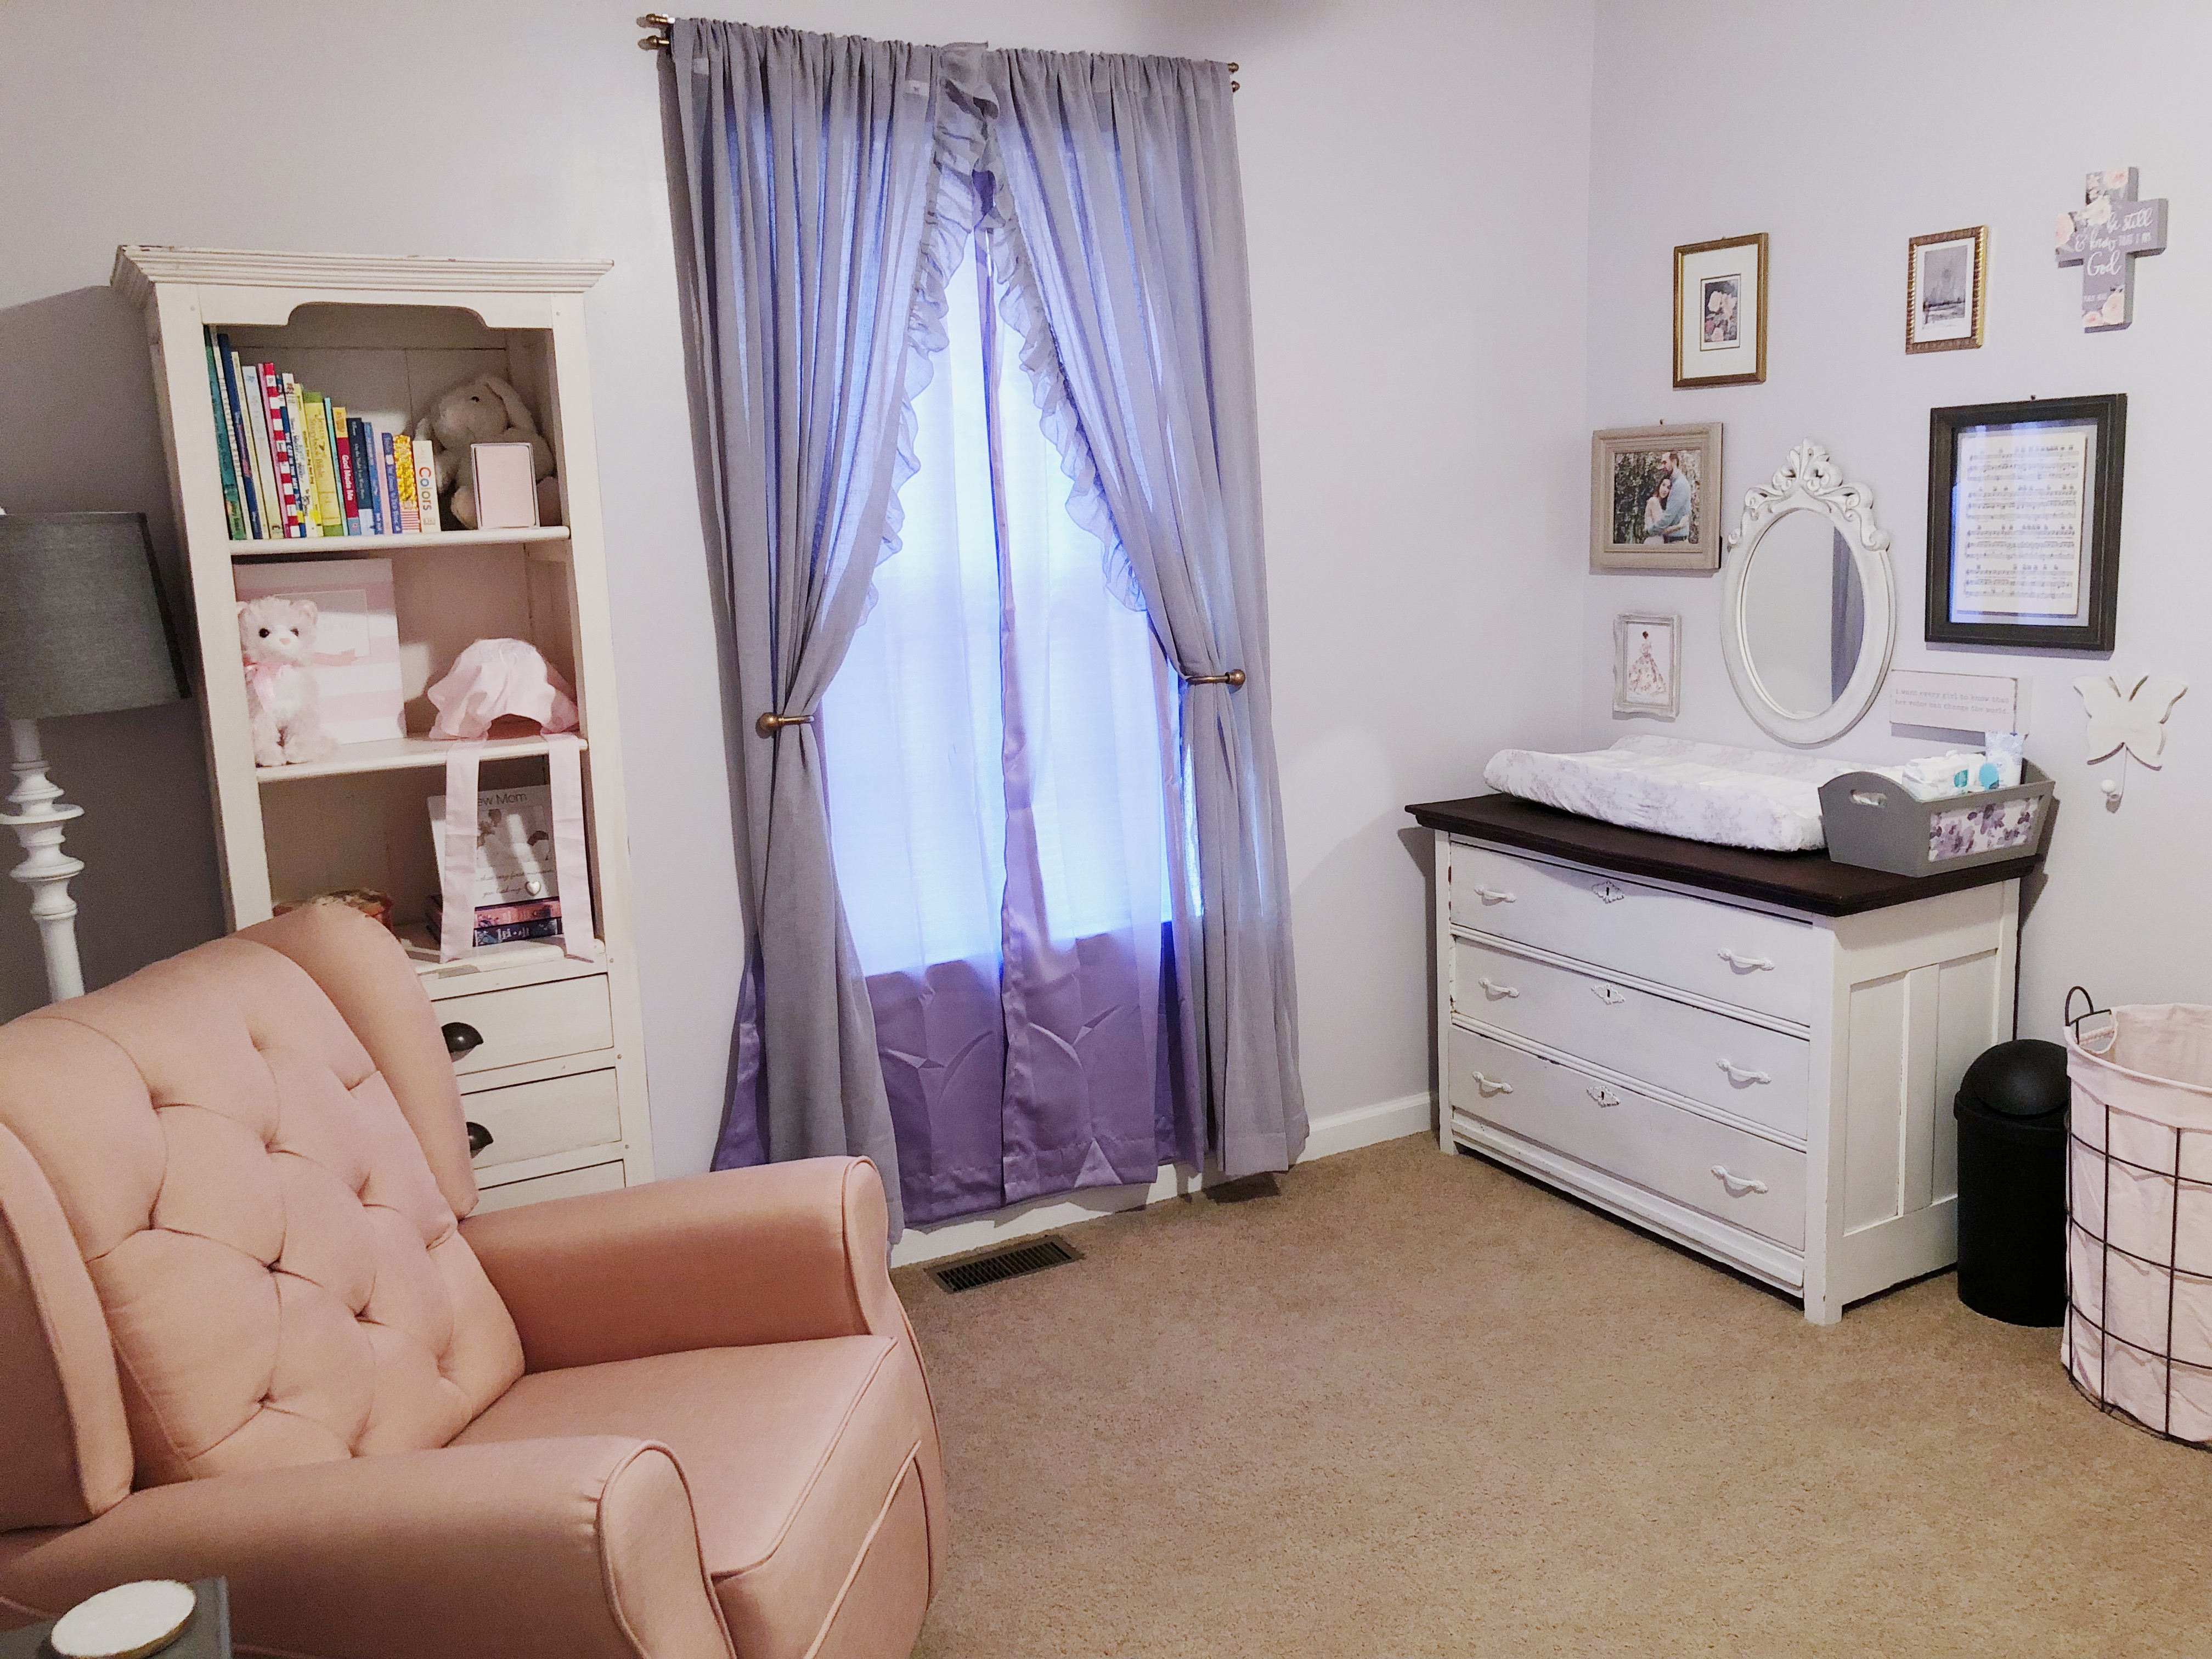
I’m so excited to share Lyla’s nursery with you! I had so much fun (and a few sleepless nights) putting this room together. Interior design is a great outlet for creativity. I think we all feel like we have an inner Joanna Gaines just waiting to come out! Today I’m sharing my inspiration for her room, how it all came together, and where all the pieces are from.

The inspo:

The first thing I chose for Lyla’s nursery was the color. I love everything pink, but I didn’t want to design a room for me. I also believe in how colors make us feel. I chose a very soft lavender because I knew it would be soothing. 

The next step was to choose a “theme.” I didn’t have anything that I wanted to commit to, so I chose Team No Theme. I just wanted the room to be soft, timeless, and feminine. I wanted it to look like a baby lived there, not an adult hipster. I knew I wanted to incorporate florals, but I didn’t want to go too crazy. I also had the luxury of knowing we are moving sometime next year when Andrew’s residency ends, so her nursery didn’t have to transition into a little girl’s room. As long as we were living in this house, it only had to be a room for a tiny baby.

MBRW5119XXDK7711

The process:

Decorating this nursery proved to be one of the hardest projects I’ve done. You only get to bring your first baby home once, and I wanted everything to be just the way I envisioned. That desire combined with pregnancy brain gave me decision paralysis like I have never had in my life. I am normally a VERY decisive person. But while putting together the nursery, I second-guessed everything. I literally lost nights of sleep over the curtains. I kept having to remind myself that all my baby actually needs is love, food, and a safe place to sleep, and I had those covered.

To somewhat preserve my sanity, I made a list and a Pinterest board of all the elements I wanted for the room. That helped me stay focused while shopping.

MHRX1007RYMD6989

RHTV0940

The sources:

I’m not a cool enough blogger to have an account where I can link all the sources for you, so I’ll list them here for those curious:

Crib: Buy Buy Baby

Dresser (used as changing table): Leah Shea Interiors in Paducah, KY

Blanket ladder: Facebook Marketplace

Paint color: Sachet by Valspar

Rocker: Target

Side table: Marshall’s

Cube storage & floral cubes: Walmart

Gallery wall: Frames are from Goodwill, Marshall’s, and At Home. Mirror and cross are from Hobby Lobby. The wooden sign is from Home Goods. The other pieces in her gallery wall are:

-“The Rose Fairy” print from this series by Cicely Mary Barker. She was an English artist in the 1920’s and 30’s, and I love her prints for nurseries or little girls’ rooms.

-Vintage sheet music for “Somewhere Over the Rainbow.” I’ve had this sheet music for years and I saved it knowing I would want it in a nursery someday.

-A vintage Barbie sketch print from a set of greeting cards like this one.

-The Art of Disney theme parks “Vision” postcard. I tried to link this but couldn’t find a source I trusted. This is a postcard I bought while I worked at Disney. It depicts the land on which Magic Kingdom is built as it looked when Walt purchased it, with a hologram of the castle over it.

That may be more detail than you ever wanted to know, but that’s the story on our little girl’s nursery! We can’t wait to bring her home!